Subscribe and Setup
The following sections outline how to deploy the AveriSource Platform™ from the AWS Marketplace, as well as the step-by-step setup process to begin using the platform.
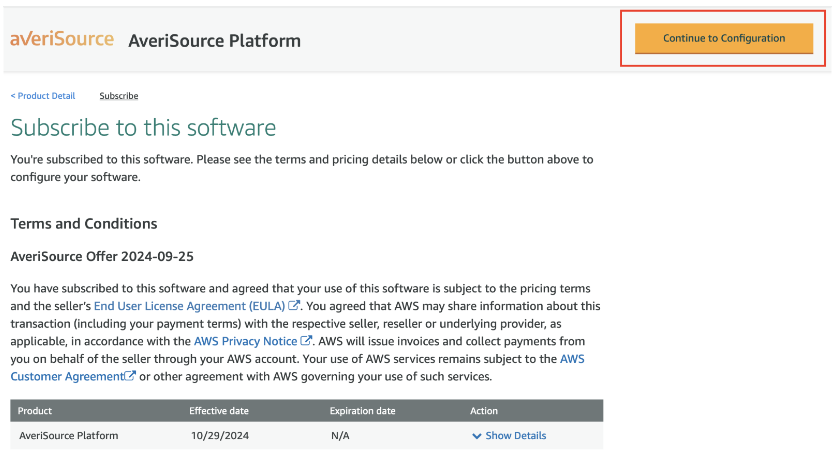
To purchase the AveriSource Platform, choose View purchase options from the AMI product offering from the AWS Marketplace.

You will first be required to subscribe to the software. Once you have subscribed, you can continue to the configuration page by clicking Continue to Configuration.

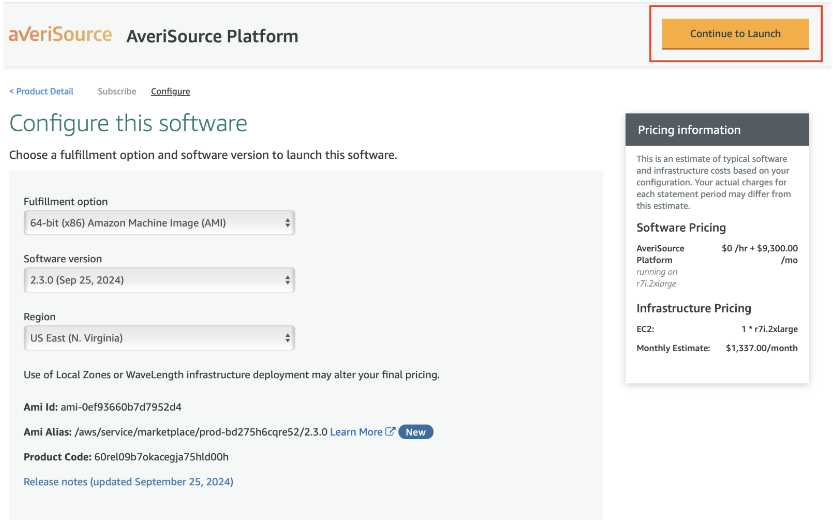
On the Configure this software page, you can select your fulfillment options for the deployment. Once those options are selected, click Continue to Launch.

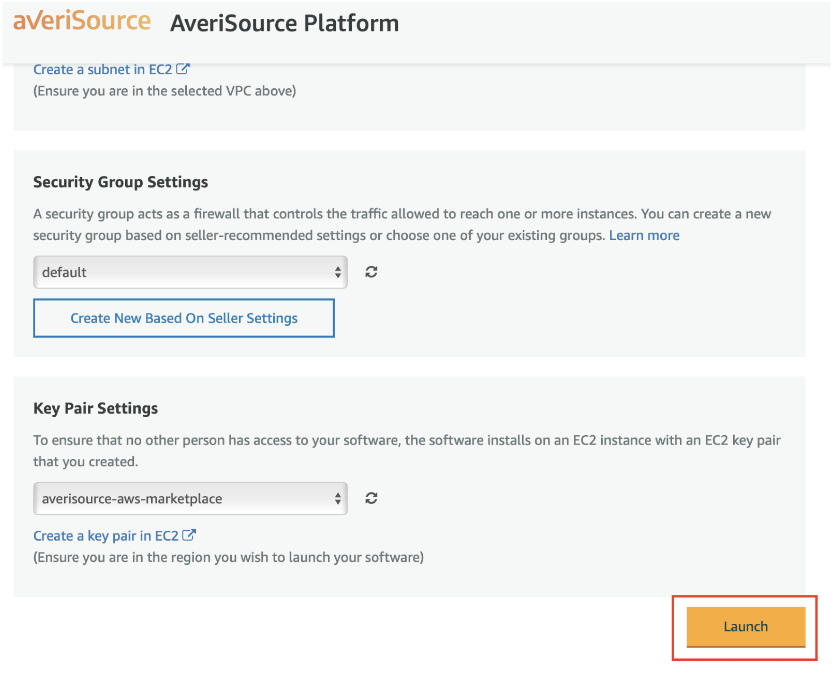
On the Launch this software page, confirm your configuration details. You will be required to supply a Key Pair Setting as that will allow you to access the deployed image. Once your configuration details are selected, click Launch.

The AveriSource Platform EC2 instance is ready for access once the Status check(s) have passed.

Click on the EC2 instance ID to see the metadata for that instance. Within the instance details view, click Connect.

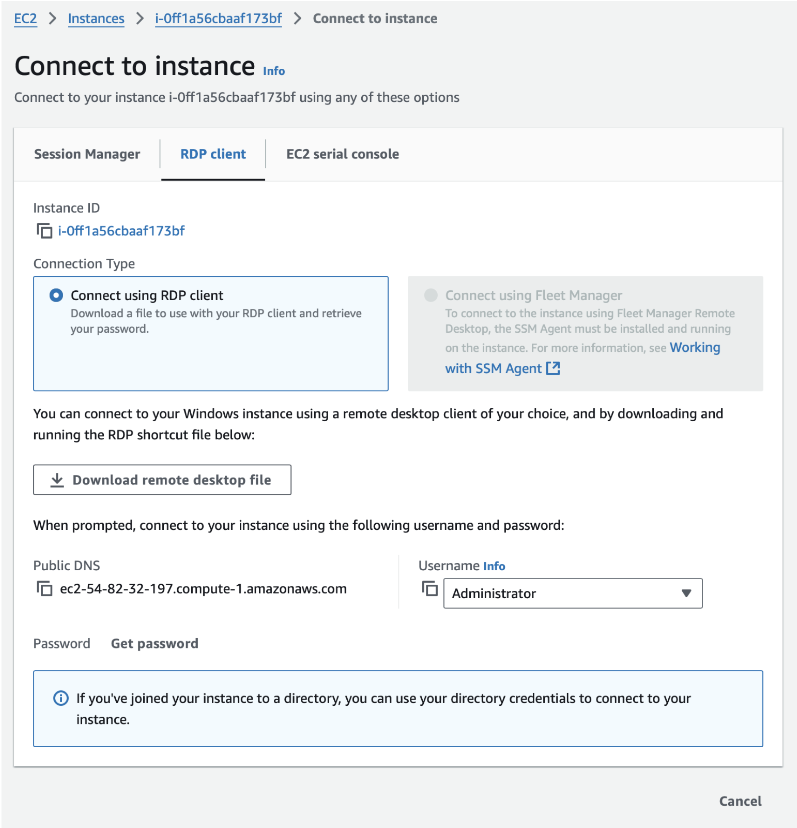
On the Connect to instance page, configure the following:
The Public DNS information can be used for your RDP client hostname.
Login information is “Administrator” by default.
Click the Get password option to leverage your key pair from deployment to decrypt the password needed for the Administrator login.

Once logged into the system via RDP, the configuration process for the AveriSource Platform can be started by launching the Chrome browser and going to URL localhost:82.
From here, you can now follow the AveriSource Platform Installation steps, starting with step 7, to finish setting up the AveriSource Platform.
Note about configuring the database:
The SQL Server Name will be the random EC2 Instance name that was assigned.
Windows Authentication is required by default as the Administrator only has access by default.
.png)